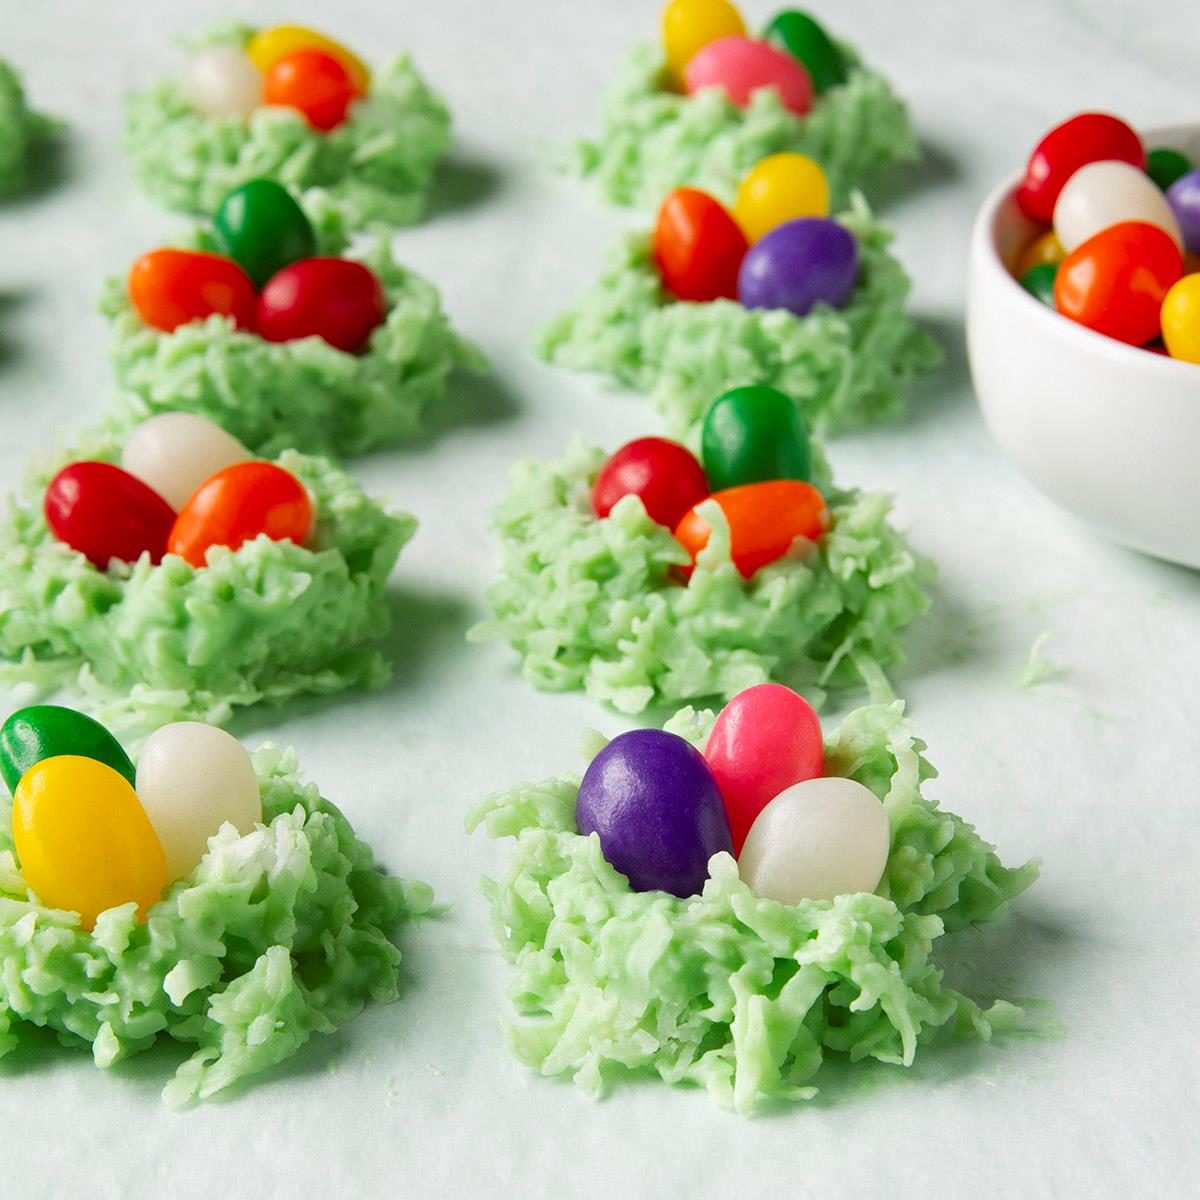
These coconut nests are so easy and fun to make, the kiddos can join in! They don't require any cooking, look delightful on the table for spring celebrations and are quite yummy to snack on.

Coconut Nests

If you want a fun and simple cookie project for the kids (or want to surprise them with something cute to eat!) try making these coconut nests. They have just a few ingredients and because they don’t require any baking and can be made from start to finish in just about 20 minutes. If you prefer a chocolate coconut nest cookie, these are versatile enough to swap out ingredients. Chocolate coconut nests will have a rich and creamy flavor and taste. Either way, this coconut nest treat is a true delight. Enjoy!
Ingredients for Coconut Nests
- White candy coating: Coarsely chopped white candy coating is key for this recipe.
- Food coloring: You’ll need six drops of green and one drop of yellow food coloring for these easter coconut nests.
- Shredded coconut: Be sure to use sweetened shredded coconut.
- Jelly beans: Use any type of jelly beans that you prefer.
Directions
Step 1: Melt the candy and add coloring
In a microwave, melt the candy coating. Then, stir in food coloring until fully combined. Lastly, stir in the coconut.
Step 2: Form the cookies
Drop the mixture, by tablespoonfuls, onto waxed paper into 12 mounds. Make an indentation in the center of each drop using the end of a wooden spoon handle. Fill each indentation with three jelly beans.
Step 3: Let the cookies set
Once all the cookies are formed and pressed with jelly beans, keep the cookies on the counter (or in fridge) until completely set. Serve.
Recipe Variations
- Add chocolate: Use mini chocolate eggs instead of jelly beans for a richer cookie. You can also swap out the candy coating for chocolate chips.
- Make a stick nest: The green and yellow food coloring is supposed to represent a grassy nest. If you add baking cocoa to the mix when you add in the coconut (and leave out the food coloring), you’ll be left with nests that look like darling stick nests.
How to Store Coconut Nests
Keep these sweet little nest cookies in an airtight container in the fridge. It’s best to keep them flat as opposed to layering. If you must layer, do so after the cookies have fully set.
Can you make coconut nests ahead of time?
Yes, you can make coconut nests ahead of time. In fact, it’s best when you do as the cookies need to set well prior to serving. We recommend making them at least a few hours ahead of time.
Coconut Nest Tips
How do I keep the jelly beans from becoming too mushy?
The key is to keep the cookies in a cool place for storage. Too much moisture results in a melted jelly bean.
What type of jelly bean should I use?
You can use any flavor of jelly beans that you prefer. We do recommend using mini jelly beans, however. You can use larger jelly beans if you want to make the nests larger.
What can I use instead of candy coating?
You can use white or regular chocolate chips in place of the candy coating. If using regular chocolate chips, you should skip the food coloring as you won’t see it. This also makes for a lovely chocolate coconut flavored cookie.
Coconut Egg Nests
Ingredients
- 6 ounces white candy coating, coarsely chopped
- 6 drops green food coloring
- 1 drop yellow food coloring
- 1 cup sweetened shredded coconut
- 36 jelly beans
Directions
- In a microwave, melt candy coating; stir in food coloring until blended. Stir in coconut. Drop by tablespoonfuls onto waxed paper into 12 mounds. Make an indentation in the center of each with the end of a wooden spoon handle. Fill each with 3 jelly beans. Let stand until set.
Nutrition Facts
1 each: 127 calories, 7g fat (6g saturated fat), 0 cholesterol, 22mg sodium, 17g carbohydrate (15g sugars, 0 fiber), 0 protein.