Nothing is more frustrating than needing ¼ cup of one ingredient for a whole recipe. Do you buy it? Do you skip it? I often find myself in this minor dilemma with bread crumbs. (Especially when making meatballs—most recipes call for less-than-a-cup.) Instead of having a carton of store-bought crumbs take up room in the pantry, you can make just enough bread crumbs at home in a flash.
Here are my tricks for easy homemade bread crumbs:
Don’t Toast Your Bread
The first step in most homemade bread crumb recipes is to toast the bread before crushing or crumbling. The misleading word in this advice is, “toast.” True, you’ll put the bread in an appliance used to toast like a toaster oven or broiler, but the goal here isn’t to see a golden brown hue on your bread. You’re really looking to dry out your bread.
The best bread crumbs have all the moisture completely evaporated from their centers, which is why they’ll keep in your pantry for what seems like far too long for anything labeled “bread” to survive.
When drying the bread, keep your temperature super-low: 200-225 degrees is perfect. It will take slightly longer to ready your bread, but this temperature will heat the bread to sufficiently vaporize moisture but not enough to trigger the Maillard reaction that darkens bread’s surface and alters its flavor.
Use Any Bread in the Kitchen
For bread crumbs, sliced sandwich bread or some kind of Italian loaf usually comes to mind. But don’t limit your crumb-making possibilities! Any bread, in any form will work. The hot dog buns in the freezer? Yep, crumb ’em. The baguettes on top of the cabinet? Start the drying, they’ll be crumbs soon. Leftover croissants? Crumb time!
You get the idea. All breads sweet, savory or otherwise will make a perfect bread crumb as long as you get them nice and dry before crumbling.
Forget the Food Processor
Your bread should be slightly hard to the touch and dry and crispy all the way through. Now is the time to drag out another piece of equipment, the food processor. Or at least, that’s what you’ve been told! A food processor will work just fine for crumb making, but I also like to use two other, less involved, methods:
- The simple hand crunch. Wrap your bread in a paper towel and squeeze and pinch it until it has made your desired crumb texture. Then, pour the crumbs from the paper towel into the bowl and gently shake the paper towel to make sure you get every last crumb.
- The box grater. Place the grater in the center of a large bowl and swipe your bread down its sides like you would a block of cheese. The bread is so ready to crumble that you have perfect crumbs in just a few swipes—no corded equipment required! (Here’s why a box grater is a kitchen essential.)
Use Crackers Instead of Bread
The last secret to making the bread crumbs your recipe desperately needs, is not using bread at all. Crackers, bagels, Goldfish, potato chips, almost anything dry and crunchy can fill the role of bread crumb in your dish. Most recipes use bread crumbs as a way to disperse moisture and bind ingredients together. If they aren’t a binder, bread crumbs act as a crunchy topping or breading. The dryness and crunchiness of crackers perfectly fulfill these needs!
Pro Tip: One thing to watch when using non-bread bread crumbs is salt levels. Chips and other crunchy snacks come pre-seasoned, so if the recipe calls for extra salt in the breading, skip that step.
Now that you know the best way to make your own bread crumbs, try these ridiculously good breaded chicken recipes!
Crispy, Crunchy and Delicious Ways to Bread Chicken
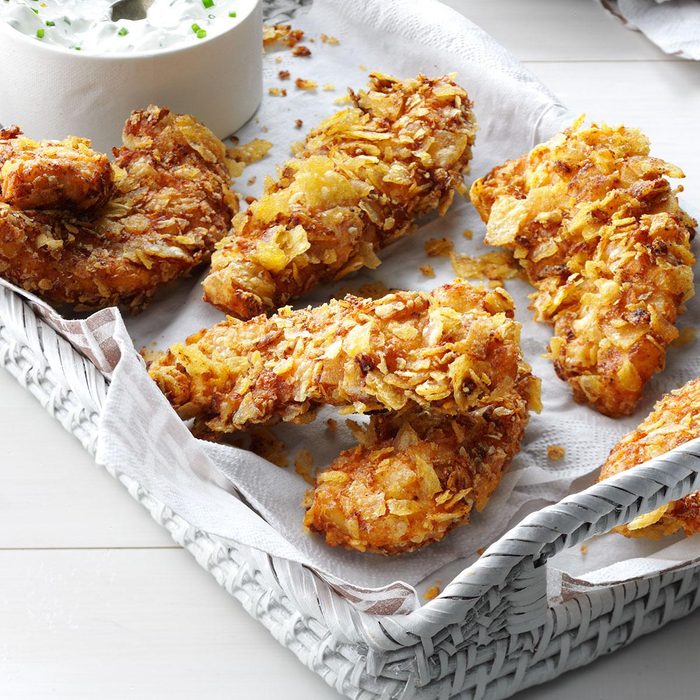
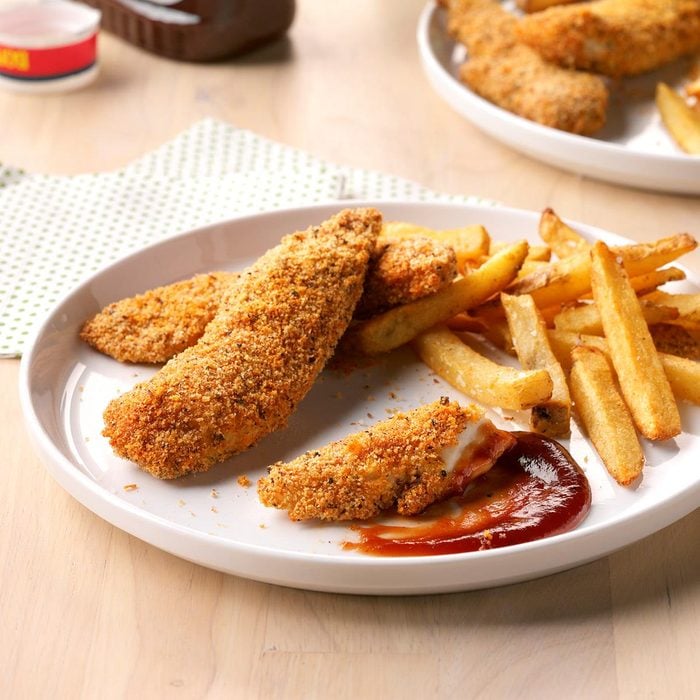
Crispy Barbecue Chicken TendersThese crunch-coated chicken tenders are a little sweet, a little tangy and a whole lot of fun. In half an hour, your family's new favorite dish is ready to eat. When I have extra time, I roast garlic and add it to the sauce. —Andreann Geise, Myrtle Beach, South Carolina
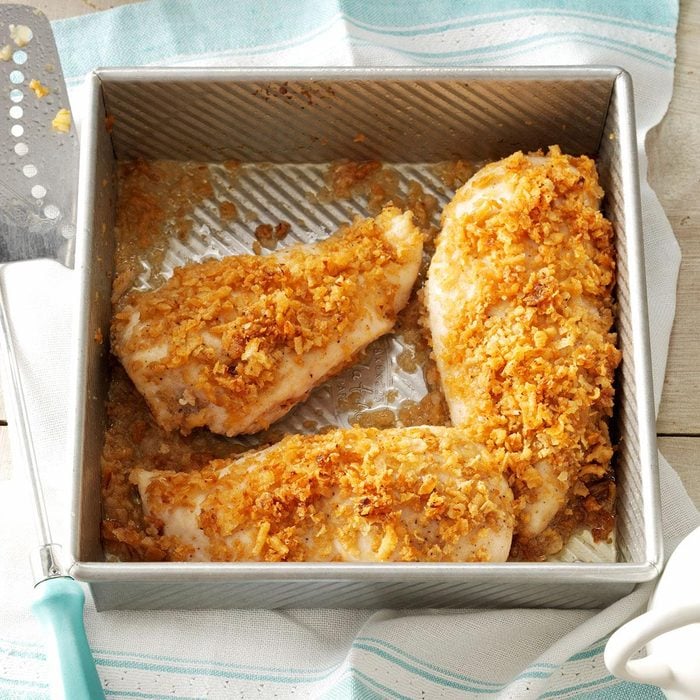
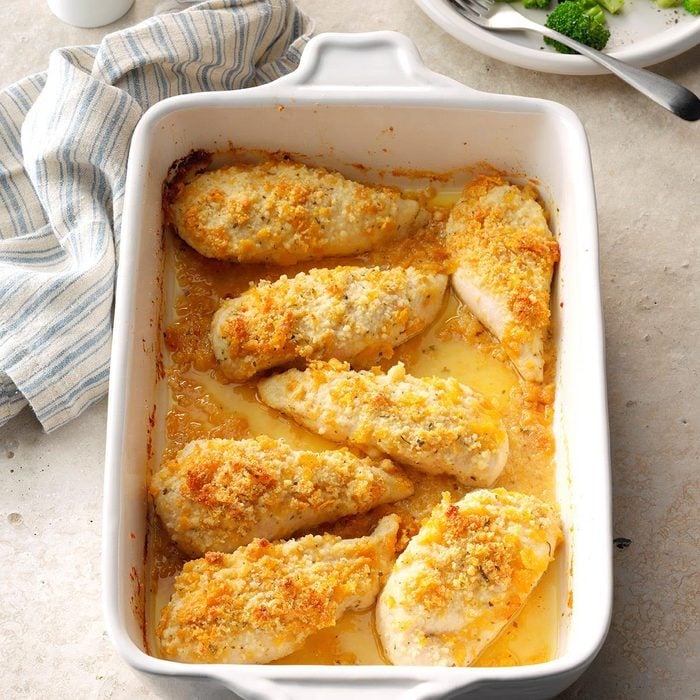
Crumb-Coated Ranch ChickenHow do you get so much flavor out of a five-ingredient-or-fewer recipe? Ranch dressing is the key! Enjoy this simple dish on busy weeknights or with company for special occasions. —LaDonna Reed, Ponca City, Oklahoma
Crispy Barbecue Chicken TendersThese crunch-coated chicken tenders are a little sweet, a little tangy and a whole lot of fun. In half an hour, your family's new favorite dish is ready to eat. When I have extra time, I roast garlic and add it to the sauce. —Andreann Geise, Myrtle Beach, South Carolina
Crispy Onion ChickenMy family loves chicken, and I'm always trying new ways to prepare it. This golden-brown chicken with its crunchy french-fried onion coating is great with rice, baked potatoes, macaroni salad or potato salad. —Charlotte Smith, McDonald, Pennsylvania
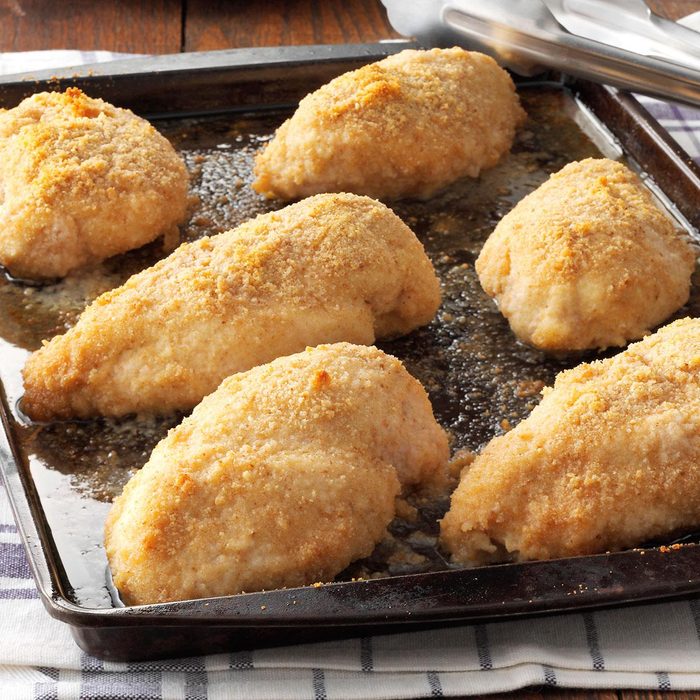
Parmesan ChickenThe savory coating on this chicken has the satisfying flavor of Parmesan cheese. It's easy enough to be a family weekday meal yet impressive enough to serve to guests. When I make this baked parmesan crusted chicken for dinner, we never have leftovers. —Schelby Thompson, Camden Wyoming, Delaware
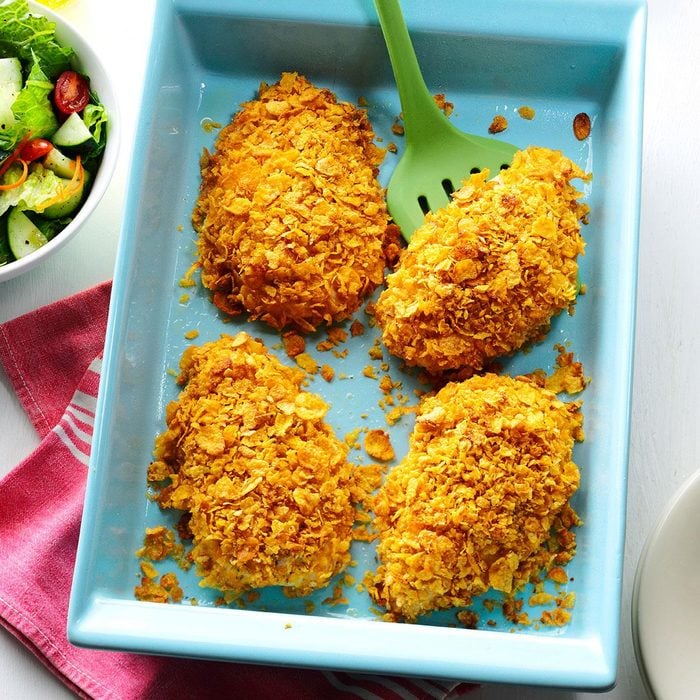
Breaded Ranch ChickenA crunchy coating of cornflakes and Parmesan cheese adds delectable flavor to this zesty ranch chicken. The golden, crispy chicken is a mainstay dish I can always count on. —Launa Shoemaker, Landrum, South Carolina
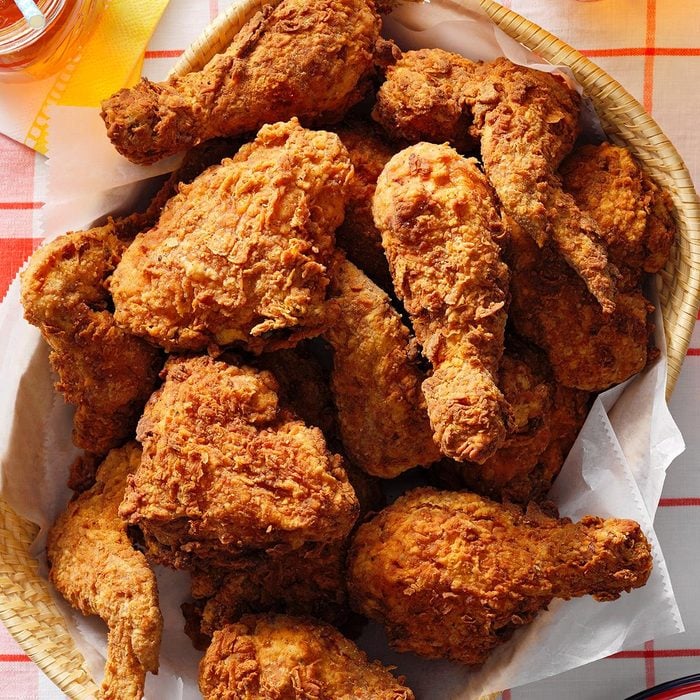
Crispy Fried ChickenIf you've wanted to learn how to make crispy fried chicken, this is the recipe for you. Always a picnic favorite, this deep-fried chicken recipe is delicious either hot or cold. Kids call it my Kentucky Fried Chicken! —Jeanne Schnitzler, Lima, Montana
Breaded Ranch ChickenA crunchy coating of cornflakes and Parmesan cheese adds delectable flavor to this zesty ranch chicken. The golden, crispy chicken is a mainstay dish I can always count on. —Launa Shoemaker, Landrum, South Carolina
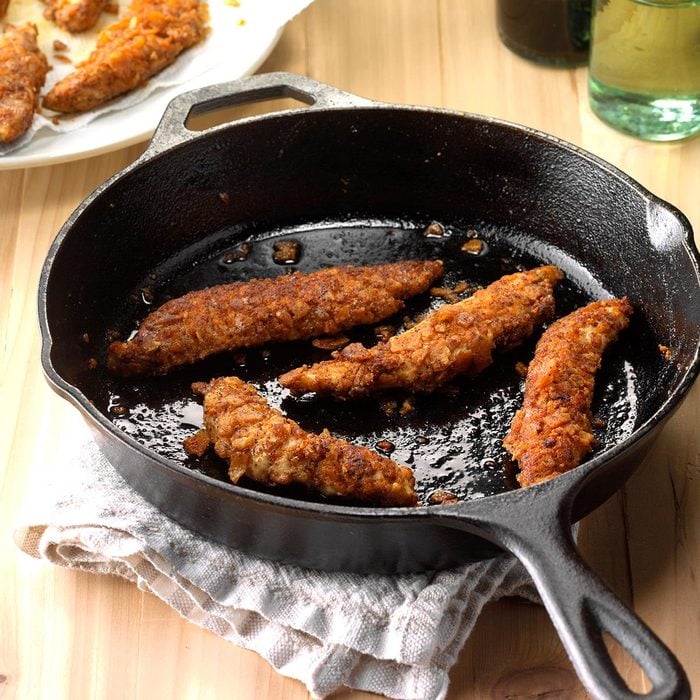
Crispy BBQ Chip TendersThese crunchy chicken tenders are a little sweet, a little tangy and a whole lot of fun. In half an hour, your family's new favorite dish is ready to eat. When I have extra time, I roast garlic and add it to the sauce. —Andreann Geise, Myrtle Beach, South Carolina. If you're looking for more, then learn how to make
panko chicken tenders.
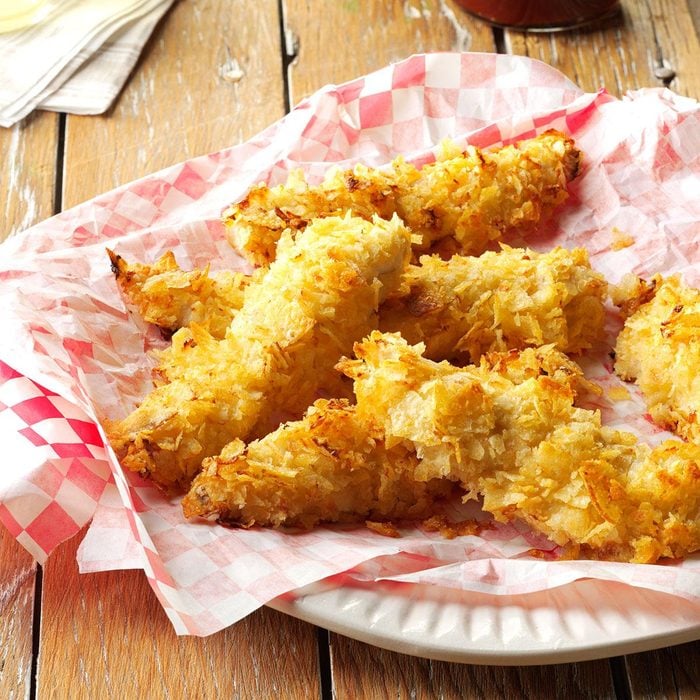
Potato Chip Chicken StripsThis novel recipe is a fast and tasty change from fried chicken.—Sister Judith LaBrozzi, Canton, Ohio
Spicy Chicken NuggetsWe devour these spicy chicken nuggets at least once a week. If you want to tone down the heat, skip the chipotle pepper. —Cheryl Cook, Palmyra, Virginia
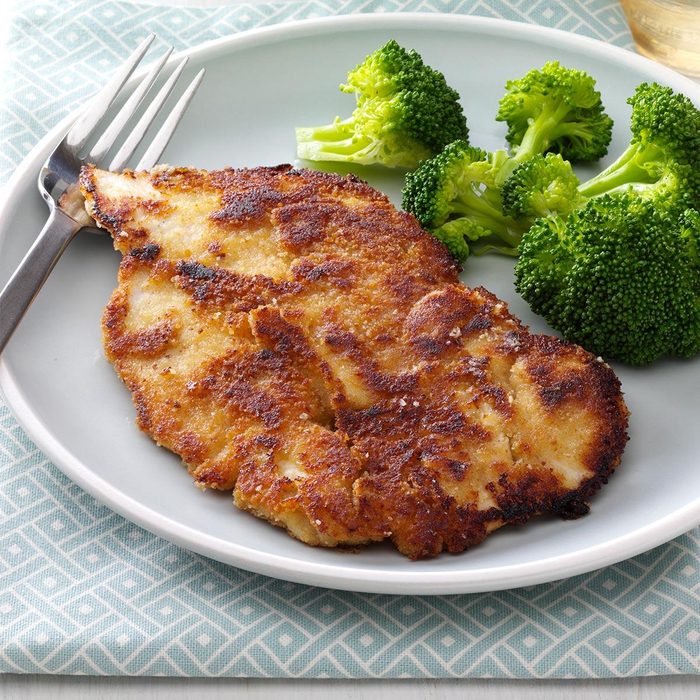
Honey-Mustard Breaded ChickenI get bored with the same old breaded chicken, so I came up with this simple recipe. The coating adds fast flavor to tender chicken cooked on the stovetop. —Laura Theofilis, Leonardtown, Maryland
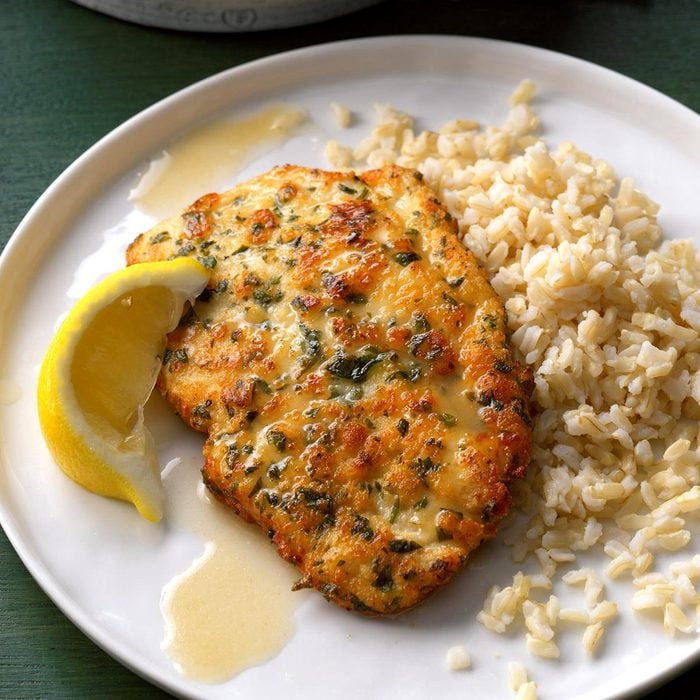
Chicken Piccata with Lemon SauceOnce you've tried this tangy, yet delicate lemon chicken piccata, you won't hesitate to make it for company. Seasoned with parmesan and parsley, the chicken cooks up golden brown, then is drizzled with a light lemon sauce. —Susan Pursell, Fountain Valley, California
Chili Chicken StripsInstead of ordinary bread crumbs, seasoned crushed corn chips coat these slightly crunchy chicken fingers. If your family likes food with some heat, use the full 1-1/2 teaspoons of chili powder. —Taste of Home Test Kitchen
Seasoned Chicken StripsThese strips are designed for kids, but tasty enough for company. The tender strips are moist and juicy and would also be great on a salad. —Becky Oliver, Fairplay, Colorado


